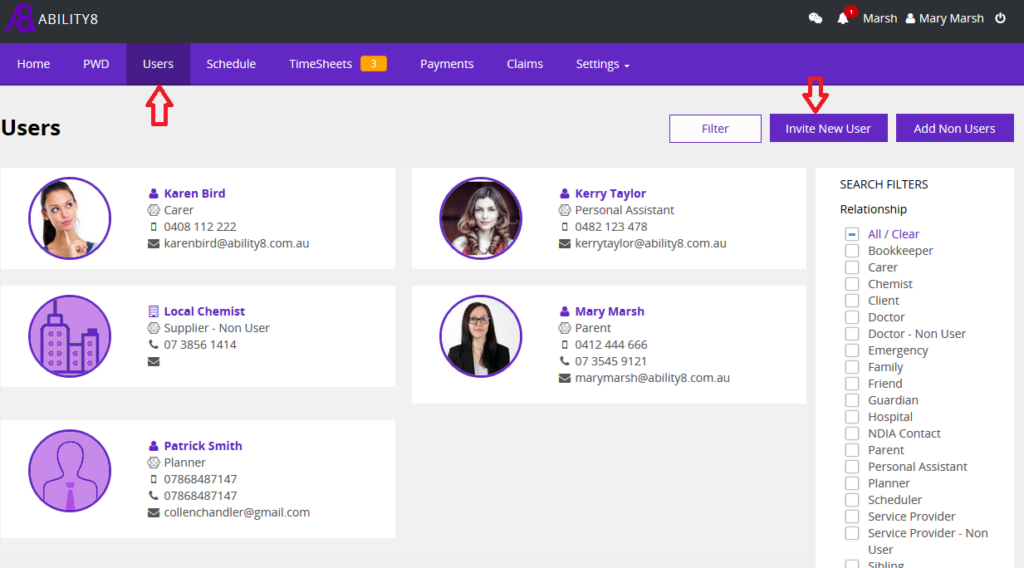
1. Select Users from the menu
2. Select “Invite New User” button in top right hand corner.
3. On this screen populate the User name, Email Address and then select the relationship that best describes the relationship this User has with the Person with Disability (PWD).
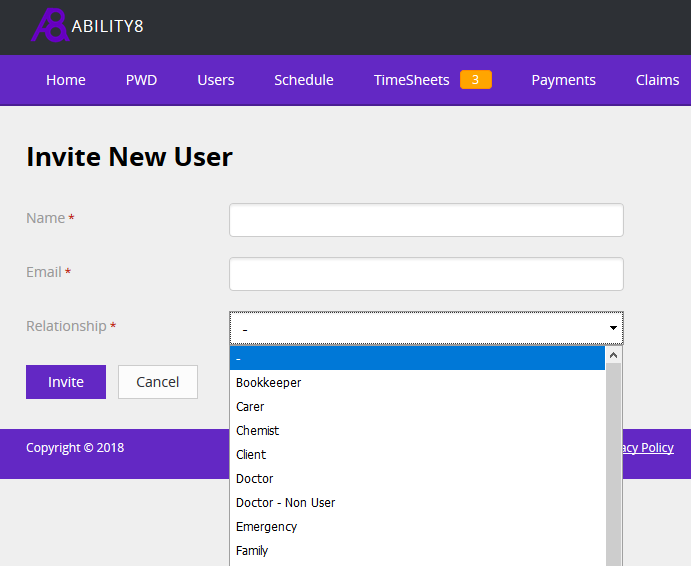
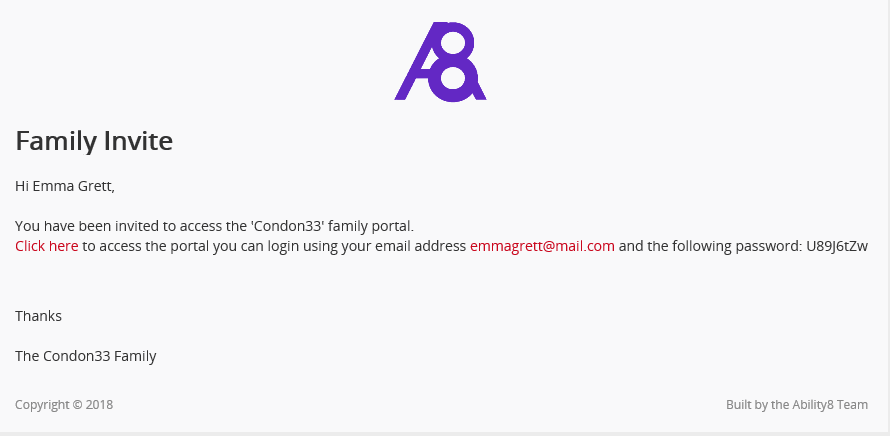
4. Press the “Invite” button and an email will be sent to the new user inviting them to join the family portal. (Sample email below.)
5. Once you press “Invite” you will be taken to the new user’s profile screen, on this screen you will see 2 messages, one green message confirming the email invite was successfully sent and the second yellow message highlighting the importance of setting the correct access permissions for this user. These permission are set on the “Permissions” tab.
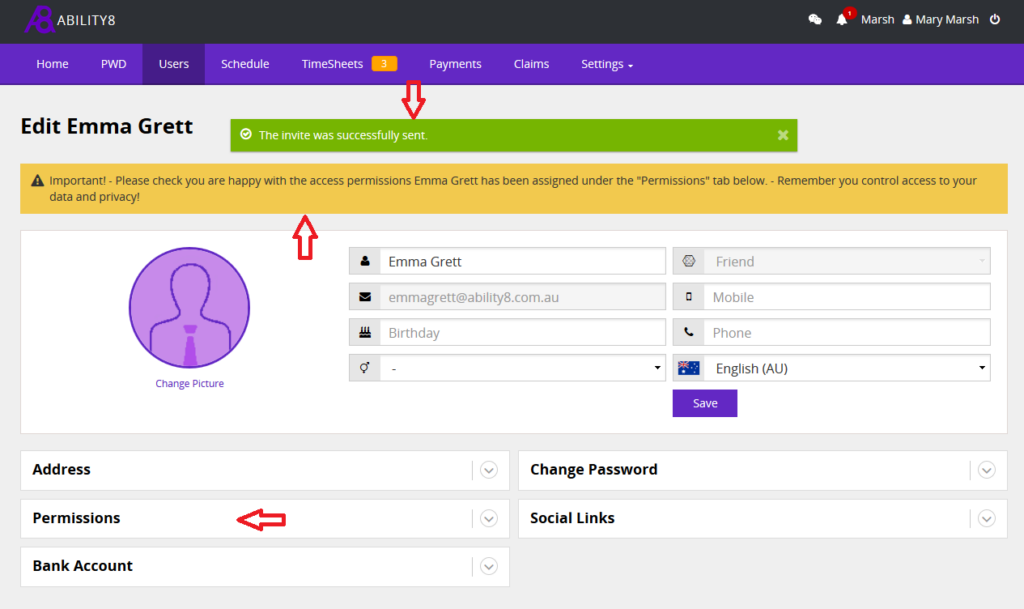
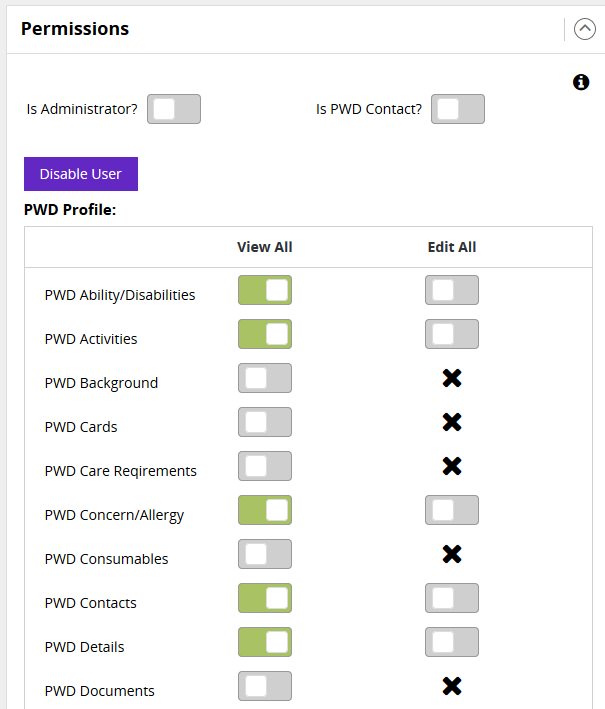
6. Open the Permissions tab and you will see a list of permission switches.
Is Administrator – Set this user as an administrator of the system they will have full access to all areas. (Usually Off)
Is PWD Contact – Rather than enter user details in two locations within the App this switch allows you to enter contact details about this user in one location under Users and the same details will be copied to the PWD Profile area under Contacts. This means you only update contact details in one place, saving confusion about current contact details.
Disable User – Allows the User to be disabled immediately or at a future date and time. When a user is disabled they no longer consume a user license and can be re-enabled at anytime in the future. Note: – Users are not deleted from the system, they are disabled so no related data is lost.
Each switch is pre-set depending on the user relationship, these can be changed as needed on a per user basis.
View All – Means the user can either view or not view this data. If the switch is OFF the data is not visible to this user, if the switch is ON the data is visible to this user.
Edit All – Edit All switch is not active unless View All switch is ON. If the Edit All switch is OFF the user can view the data but not edit or change the data. If the Edit All switch is ON the user can view and edit the data.
7. These settings are automatically saved, there is no need to press the save button.